Test-Blog
How to Build a Brick Patio (Yes, You Can Actually Do This)
by Marcus Turner
Posted on February 23, 2026 6:21 AM
Look, I'm not going to sugarcoat it — when I first heard "install your own brick patio," I pictured renting a backhoe, mixing fifty bags of concrete, and throwing my back out by noon. But here's the thing nobody tells you: you don't need mortar or concrete at all. Just sand, crushed stone, some bricks, and a free weekend. That's it.
If you can rake a yard and push a wheelbarrow, you can do this. Let me walk you through it.
What You're Actually Building
The basic idea is beautifully simple: dig out a shallow area, pack in a layer of crushed stone, smooth a layer of sand on top, and set your bricks right into it. No mixing, no waiting for anything to cure, no calling in favors from a contractor friend. The sand holds everything snugly in place, and the crushed stone keeps the whole thing from sinking or shifting over time.
What You'll Need
Materials
- Brick pavers — these are solid bricks (no holes), typically 4" x 8". Pick a pattern you like; there are a dozen options from classic running bond to fancy herringbone.
- Sand — well-graded, washed concrete sand. Don't just grab whatever's in the backyard.
- Crushed stone — also called gravel, road base, or crusher run depending on where you live. Pieces should range from about ¾" down to fine dust.
- Edging material — your choice of brick, rigid plastic/metal edging, or pressure-treated 2x4 lumber.
- Metal spikes — at least 8" long, for anchoring the edging.
- String and wooden stakes — for keeping your lines straight.
Tools
Flat shovel, wheelbarrow, garden hose, hard rake, carpenter's level, a 2x4 "screed board" (at least 3 feet long), trowel, broom, and a plate compactor (rent this — it's worth every penny).
You'll also want a brick splitter or masonry saw for trimming edge pieces. Your local rental shop will have both.
Step 1: Figure Out How Much Stuff to Buy
Measure your space (length × width = square footage). Then:
- 4" x 8" pavers: multiply square footage by 4.5 to get your paver count
- Add 5% extra for any chips or breakage
- Add 1.5 bricks per linear foot of edge (for cuts)
Example: A 10' x 20' patio = 200 sq ft × 4.5 = 900 pavers + 45 (waste) + 90 (edge cuts) = 1,035 pavers total
For sand: Multiply square footage by .00309 to get cubic yards. You always use a 1" layer.
For crushed stone:
- Patio or walkway (light duty): multiply sq ft by .01235 for a 4" base
- Driveway (heavy duty): multiply sq ft by .02469 for an 8" base
Step 2: Prep the Area
Before you dig a single shovelful, call your local utility companies to mark any underground lines. This is not optional. This is the one step nobody wants to do and everybody should.
Once you're clear, outline your area with stakes and string. Make sure the ground slopes about ¼" per foot away from your house foundation — you want rain running away from the house, not pooling against it.
Then dig out just enough soil to create a flat, level surface for your crushed stone base. Firm up the exposed dirt with your plate compactor before moving on.
Step 3: Lay the Crushed Stone Base
Pour in your crushed stone and compact it down in layers no deeper than 4" at a time. This step is where most DIYers get impatient and cut corners — don't. A solid, well-compacted base is what keeps your bricks from shifting and sinking years down the road. Keep the stone slightly damp while compacting for best results.
.jpg)
Photo credit: Liz Kamarul
Step 4: Install Your Edging
Your edging is what keeps the whole puzzle from falling apart at the edges — literally. Set it in place first (without anchoring it yet) and do a test run by laying a few bricks along the perimeter in your chosen pattern. This is your chance to catch any layout surprises before you're committed.
Happy with how it looks? Drive your metal spikes every 2–3 feet to lock the edging in. Leave one side unanchored for now — you'll need the wiggle room when you finish laying the final bricks.
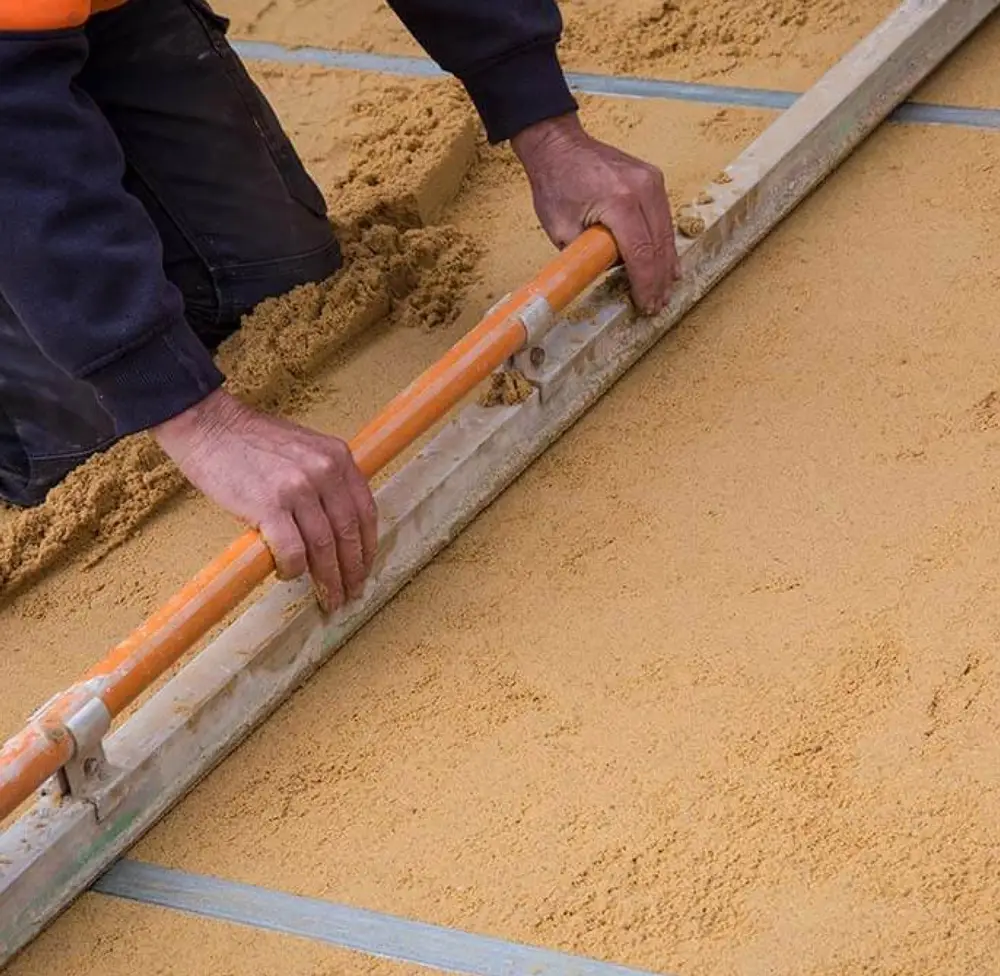
Step 5: Spread the Sand Bed
Lay 1"-diameter pipes or wood strips along the edges of your work area as rails. Fill in the area with sand (a light mist of water beforehand helps eliminate air pockets), then drag your screed board across the rails to create a perfectly uniform 1" depth of sand.
Remove the rails, fill in those grooves with loose sand, and smooth them out with your trowel. Then — and this is important — do not walk on the sand. Treat it like wet paint.
Step 6: Lay the Bricks
Start in a corner — ideally one that's up against something fixed like your house foundation, a sidewalk, or a curb. Lay one row along each of those two fixed edges first, then fill in from there.
Set each brick gently on the sand. Don't hammer them in. You're going for a snug fit with a tiny 1/16" to 1/8" gap between bricks. Work forward from the bricks you've already laid — never step on the unsettled sand.
Use a string line every 2–3 feet across your laying edge to keep everything aligned. Check your level frequently. If things drift a bit, a trowel or wide putty knife can nudge individual bricks back into line.
When you reach the final open edge, cut your remaining bricks to fit (nothing smaller than 2" wide), then anchor that last section of edging.
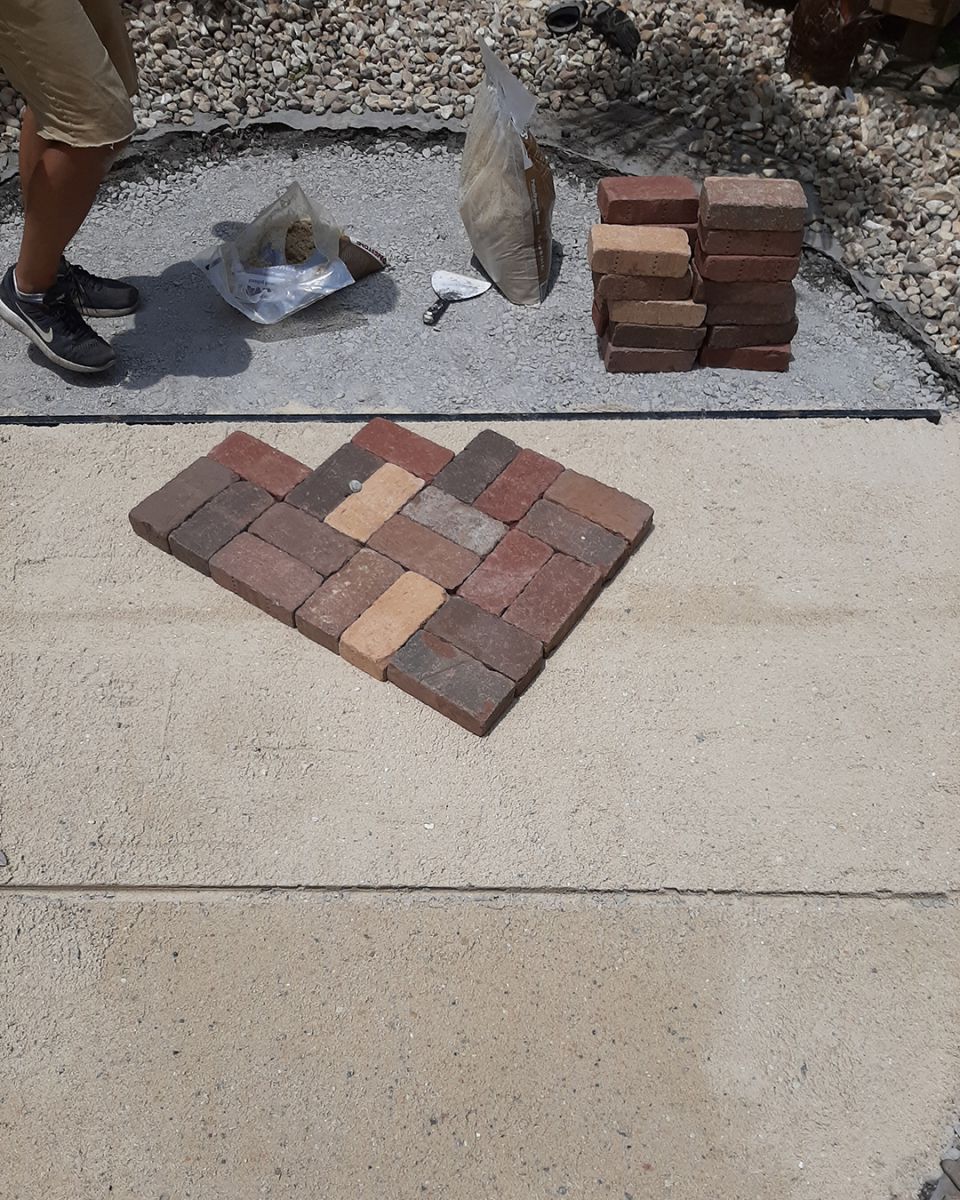
Photo credit: Liz Kamarul
Step 7: Finish It Off
Do a final inspection — check heights, alignment, spacing. Then sweep dry sand over the entire surface, working it down into all the joints. This is what locks everything together.
Run the plate compactor over the finished surface one more time (spread a thin layer of sand first so the compactor doesn't scratch your bricks). The joint sand will settle over the next few rainstorms, so sweep in a little extra sand as needed until the bricks feel rock solid.
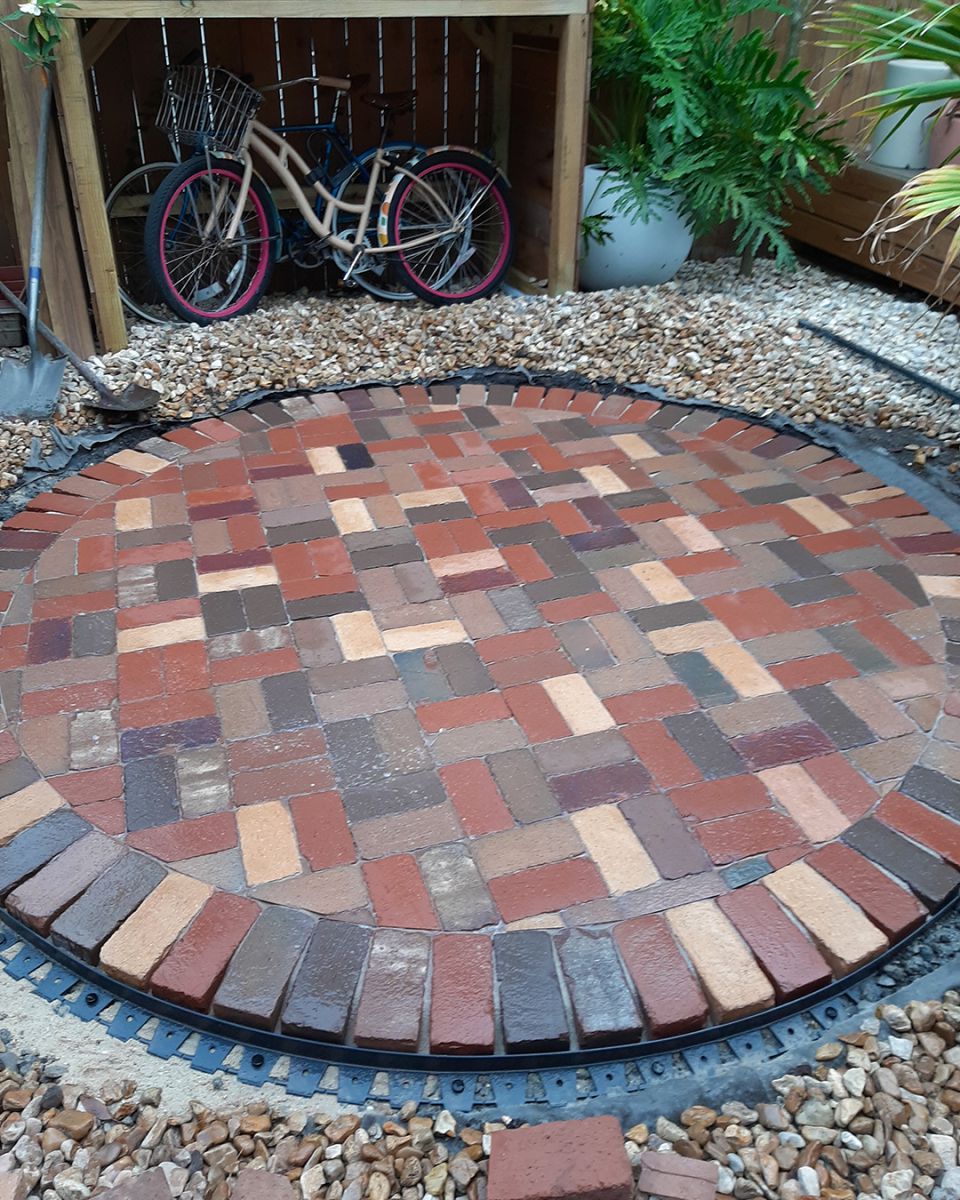
Photo credit: Liz Kamarul
Step 8: Sit Down and Enjoy It
This is the most important step and it requires no tools whatsoever. Grab a cold drink, pull up a chair (on your new patio, obviously), and take a good look at what you just built. A surface that'll last for decades, that'll look better with age, and that you did yourself.
Not bad for a weekend's work.
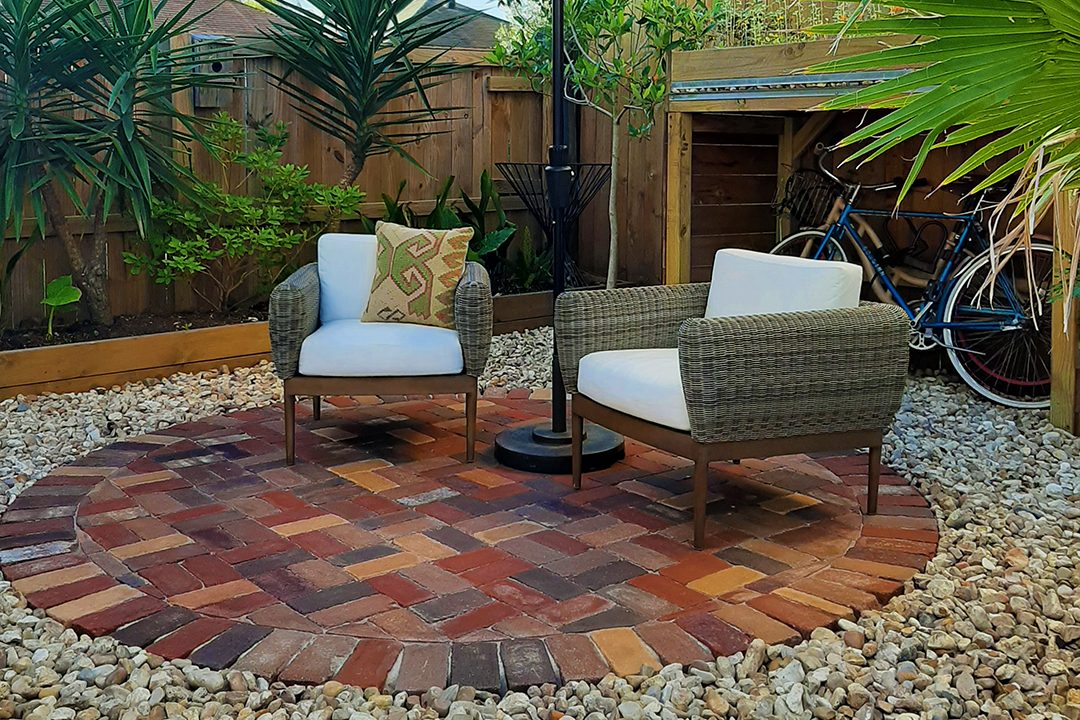
Photo credit: Liz Kamarul
Ready to Get Started? Alabama Brick Has You Covered.
Not sure which paver style is right for your project, or just want to talk through the details before you break ground? The experts at Alabama Brick are ready to help — whether you're laying a small garden walkway or a full driveway, they've got the knowledge and one of the largest selections of brick pavers around to make sure your project comes out exactly right. Stop by, give us a call, or download our free paver brochure to browse styles, sizes, and get inspired before you buy a single brick.